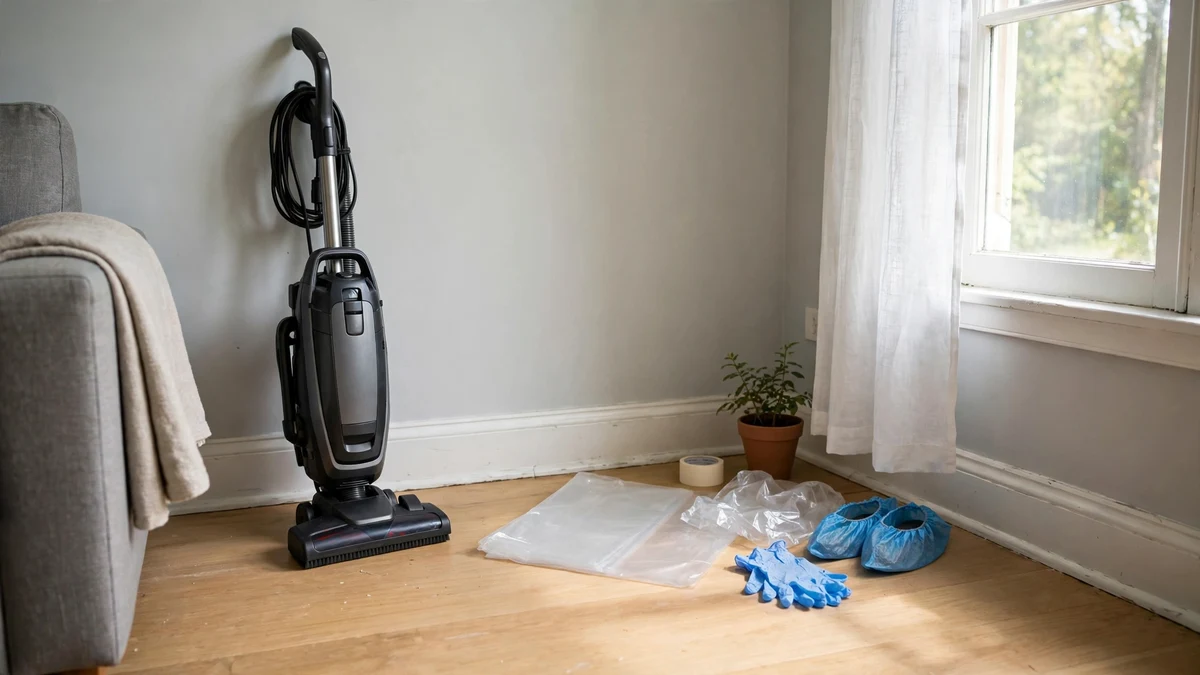
You have a treatment scheduled — with us or with any company — and you want it to work as well as possible. Good instinct: preparation is not housekeeping theater. Clean, accessible surfaces let products bond and perform as labeled; clear access lets the technician treat the harborages instead of working around your storage; and the right pest-specific prep (which differs enormously between bed bugs and ants) can be the difference between one visit solving it and three visits chasing it.
In short: before treatment, declutter and clean the areas to be treated, pull furniture slightly off walls, secure food and pet items, keep kids and pets out during service, and — critically — do not apply your own sprays beforehand. After treatment, ventilate, do not mop treated baseboards for about a week, and expect a brief "flushing effect" of increased activity as pests are driven out of hiding.
Why Does Preparation Matter?
Because pest control products work by contact and residual — the bug must encounter the treated surface — everything that blocks access degrades the treatment. A baseboard buried behind storage boxes does not get treated. A greasy, dust-caked surface does not hold a residual the way a clean one does. A technician who spends half the visit moving belongings spends half the visit not treating.
Preparation also determines thoroughness: the harborages that matter most — behind the refrigerator, under the sink, along the bed frame, in the crawl space — are exactly the places clutter accumulates. And it determines speed of results: pest-specific prep like high-heat laundry for bed bugs or pausing your own sprays for ant baiting removes the obstacles that would otherwise add follow-up visits. An hour of prep routinely saves a return trip.
What Is the General Prep Checklist?
Because every home and every treatment differs, confirm the specifics with your technician — but this room-by-room table covers the standard expectations for a general treatment visit:
| Area | What to do | Why |
|---|---|---|
| Kitchen | Clear countertops; store open food in sealed containers or the fridge; pull trash out; clean under the sink | Kitchens are the #1 harborage zone — access and sanitation determine treatment success |
| Living areas | Declutter floors; pull furniture a few inches off walls; vacuum thoroughly (empty the canister outside) | Exposes baseboards and wall-floor junctions where pests travel |
| Bedrooms | Strip beds if instructed; declutter under beds and closets; pull nightstands off walls | Bed bugs and spiders harbor in bedroom clutter and furniture joints |
| Bathrooms | Clear under sinks; remove items from tub/shower edges | Moisture pests (roaches, silverfish) concentrate at plumbing |
| General interior | Secure valuables and breakables; note any sensitivities, allergies, or pregnancy to the technician | Lets the tech work efficiently and choose appropriate precautions |
| Exterior | Unlock gates; secure dogs; trim vegetation touching the house if you can; move items away from the foundation | Perimeter treatment needs full foundation access |
Vacuuming deserves emphasis: a thorough vacuum before treatment removes food debris, dead insects, and some live pests and eggs outright — it is the single highest-value prep task. Empty the vacuum outside immediately afterward so nothing crawls back out.
Does Prep Differ by Pest?
Because generic prep only goes so far, here are the pest-specific modules — follow the one for your treatment in addition to the general checklist above:
Bed bugs: launder all bedding, curtains, and clothing from infested rooms on the highest heat the fabric allows — dryer heat kills all life stages — and bag the clean items in sealed bags until after treatment. Declutter around beds ruthlessly; every item is a harborage. Do not move infested items to other rooms. Mattress encasements, if you have them, go on after treatment per the technician's direction. See our bed bug treatment page for the full process.
Roaches and ants: deep-clean the kitchen — behind and under appliances, inside cabinets, the stove's drip pans — because baiting programs compete with your food; the cleaner the kitchen, the better the bait works. Pause all DIY sprays before the visit: repellent residues ruin professional bait programs (more below). See cockroach control for method details.
Rodents: do not clean up all droppings before the inspection visit — droppings map the runways and entries, and the technician needs to read them. Note where and when you hear activity. Seal food in hard containers. Our rodent control page covers the removal-then-exclusion sequence.
Fleas and ticks: vacuum thoroughly — especially pet resting areas, rugs, and upholstery — and wash pet bedding on high heat. Have pets treated for fleas by your veterinarian on the same timeline; treating the house while the pet re-seeds it is the classic failure loop.
Termites / WDO inspection: this is about access, not cleaning. Clear the crawl-space entrance, move storage off the foundation walls inside the crawl space, clear attic access, and pull items away from the exterior foundation so the perimeter can be inspected. See our termite inspection page for what the inspection covers.
Spotted something on this list? bed bug treatment in Dalton in Dalton, GA starts with a professional inspection — we will tell you plainly what we find and what it takes to fix it.
What About Kids and Pets?
Because this is the question every parent and pet owner asks, here is the safety checklist. During service: keep kids and pets out of treatment areas while the technician works, and follow the technician's specific re-entry guidance — which varies by product and label. Dogs and cats: secure them away from the work areas (a closed room, a crate, or with a neighbor); the concern is not just exposure but a loose dog interfering with the technician on a ladder.
Aquariums: cover fish tanks and turn off air pumps during interior treatment — many insecticides are highly toxic to fish and the aerosol can enter the water. Pet bowls, toys, and bedding: pick them up before the visit and keep them off treated floors until dry. Birds and reptiles: mention them specifically; they can be more sensitive than mammals to certain products. Allergies, asthma, pregnancy: tell the technician in advance — not as a footnote at the door, but when you book — so precautions and product choices can be planned rather than improvised. Label-directed application includes these considerations as a matter of routine.
What Should You NOT Do Before Treatment?
Because well-meaning prep can sabotage the visit, the don't list matters as much as the do list:
Do not spray store-bought insecticides before we come. This is the big one. Repellent residues contaminate the surfaces where professional baits and non-repellent products need to work — for ants and roaches, your spray can single-handedly ruin a bait program that would otherwise have solved the problem. If you have already sprayed, tell the technician; honesty lets them adjust.
Do not move infested items between rooms — especially with bed bugs, where moving the mattress "out of the way" spreads the infestation to the new room. Do not mop treated baseboards for about a week after treatment — water removes the residual you just paid to have applied. Do not vacuum up bait placements — if you see bait stations or gel placements, they are working; leave them alone. Do not seal every crack the night before a roach or ant treatment — the technician may need to see the runways and entries to place products correctly (rodent exclusion is the exception: there, pre-sealing notes help).
What Happens During and After the Visit?
Because knowing the sequence removes the anxiety, here is the standard visit. It starts with a walk-through: the technician confirms the pest, the extent, and the plan with you — ask questions here, this is your window. The treatment itself typically takes 30 to 60 minutes for a standard visit (initial bed bug, termite, or wildlife jobs run longer). You may notice a mild, temporary odor from some products; ventilation clears it.
Afterward, expect the flushing effect: for a few days, you may see more pest activity, not less. This is normal and actually a good sign — the treatment is driving pests out of harborages and across treated surfaces. It typically subsides within a week as the exposed population dies off. Results timeline: many pests show major reduction within one to two weeks; colony pests (ants, roaches) and bed bugs follow their treatment schedule across follow-up visits rather than resolving in a day. Your technician should tell you what to expect and when to call back — if activity persists past the stated timeline, that follow-up call is part of the service, not an imposition.
How Do You Care for Your Home After Treatment?
Because post-treatment habits protect the investment, the aftercare routine: ventilate the home for a few hours after interior treatment. Resume normal cleaning gradually — light cleaning is fine, but avoid mopping or scrubbing treated baseboards and surfaces for about a week so residuals stay intact. Food-contact surfaces should be wiped per the technician's instructions before use.
Monitor, don't spray: resist the urge to supplement with your own products between visits — as covered above, they interfere with the professional program. Instead, monitor: note where and when you still see activity, and report it at the follow-up. Keep up the sanitation that made the treatment work — sealed food, prompt trash, fixed leaks — because the conducive conditions that invited the pests will invite them back if restored. Schedule follow-ups as recommended rather than waiting to see; the follow-up visit is where colony pests are actually finished, and skipping it is the most common reason treatments appear to "fail."
Questions before your visit? Contact us — telling us about your pest, your kids, your pets, and your schedule in advance lets us plan the right visit the first time.
Ready for a straight answer about your home? bed bug treatment in Dalton — call, message, or request a free estimate and we will take it from there.